Showing posts with label summer. Show all posts

Monday, July 1, 2013

Mango Coconut Vanilla Artisan Popsicles

Pin It


I recently returned from a trip that included a stop in Indianapolis, IN.  As luck would have it, I was there on a Statehouse Market day and I discovered that artisan popsicles are apparently all the rage.

Where have I been to have not known about this?  Obviously I haven't been searching Pinterest nearly enough.  Well, I am happy to step up to the plate on this one (especially since it will be over 100 degrees pretty much every day this week).

The hardest part for me was deciding what flavor to make. Like many of you, I started thinking I wanted to do this project late at night...on a Sunday...so I had to use what was in the house.  Luckily, I had a few options (ruled out, but saved for a future day are Key Lime Coconut, Strawberry, Chocolate Pudding and Pineapple/Greek yogurt).  I reviewed several recipes online for inspiration, but I really just went with what sounded good.  If you wanted to make these completely dairy free, skip the condensed milk and use sugar or honey as your sweetener instead. Don't have coconut milk?  Use half and half instead.

Here's what you need:
Popsicle molds
2 ripe mangoes
1 can coconut milk (13 oz)
1/4 tsp. vanilla bean paste (or 1 vanilla bean, seeds scraped out)
1/2 can of sweetened condensed milk


Peel and dice up the mangoes and then puree them in the blender--you may need to add a splash of water to make it easier on the blender.


Pour the mango puree through a strainer into a bowl with a pour spout (you'll strain out a bunch of stringy fibers that would otherwise make your popsicle less enjoyable to eat).  Add the coconut milk, vanilla and sweetened condensed milk.  Stir it up.

Pour into your molds and put in the freezer.  I set the timer for 1 hour and then I put the sticks in.  In my mold, if I put the sticks in right away, they sink and leave me with no handle.  If the mixture was a bit thicker to begin with, you could probably put sticks in from the get-go. 


I indulged in a popsicle and some time in the inflatable pool in the backyard with one of these babies today!


Sunday, May 26, 2013

Monkey Bread...and the Dutch Oven

Pin It


I decided to merge two of my latest projects together...the one-hour bread recipe and dutch oven cooking.  This one turned out great--of course, its hard to go wrong when butter and brown sugar are involved.

You'll need
10-inch dutch oven
24-30 briquettes
1 recipe of bread dough, here
3/4 c. brown sugar
1 Tbs. cinnamon
3/4 c. butter, melted

Get the dough made (or cheat and buy a can of biscuits or frozen roll dough...but the dough took me 5 minutes to mix up-which I did in my kitchen before we headed up to the campground).  Divide the dough into 4 pieces and roll each piece into a rope about 1" in diameter.  Cut the rope into 1" pieces.  Toss the pieces into a zipper bag with the sugar and cinnamon.


I lined the dutch oven with foil and sprayed with Pam.  Toss in the 1/2 coated dough pieces--no rhyme or reason, just toss them in.  Pour 1/2 the melted butter over the dough, then put in the rest of the dough and butter.  Let rise for about 30 minutes.  While the dough is raising, get the briquettes lit so they will be hot and ready to go.


Put on the lid and place the dutch oven on top of 12-14 hot coals and put 12-14 coals on top of the lid.  Every 5 minutes, turn the pot about 1/4 turn.  I baked mine for about 30 minutes.  Immediately dump the baked bread onto a plate (or big piece of foil like I did, since we were at a campground and I didn't have all my kitchen with me).

Tasty stuff. Wish I had brought along a tub of frosting or some milk, but that didn't stop us from eating it.


Saturday, March 30, 2013

Dutch Oven Berry Cobbler

Pin It

In the deep freeze of January, my thoughts were turned toward the warm sunshine of summer when my family usually does a bit of outdoor cooking, including dutch oven cooking.  My dad is the king of the cast iron pot in our family...and a collector of over a dozen pots.  I figured it was time that I learned a bit more about this style of cooking and signed up for a community ed class.

Dutch ovening in January is a bit less fun that in say, June, but still tasty.  After a few misses (ok, if its 20 degrees outside, it takes more coals to keep things baking) I've hit upon the favorite so far.
I've done 3 different versions and I like all 3 for different reasons.

You can do this recipe inside in a regular baking dish too, but if you've been thinking about trying dutch oven, this one's pretty fail-proof.


Equipment
10 inch dutch oven w/lid
lid lifter
leather gloves/pot holder
long tongs
24 charcoal briquettes
briquette chimney (optional, but makes it easy to start the charcoal w/ no lighter fluid)

Ingredients
3/4 cup old fashioned oats
1 cup flour
1 cup brown sugar, packed
1 tsp. salt
1 tsp. cinnamon
1/2 cup butter, melted
1 tsp. vanilla

1 cup sugar
2 Tbs. corn starch
1 cup water
4 cups of mixed raspberries, blackberries, blueberries (I use Costco frozen mix, defrosted)
4 cups of apples, sliced or rhubarb, diced
1 Tbs. instant tapioca pearls

First thing, get the charcoal going in the chimney starter-its going to take about 30 minutes to get it all hot and ashy.

In a small bowl mix the oats, flour, brown sugar, salt and cinnamon.  Add the melted butter and vanilla and stir to make a crumbly mix.  Set aside.
 

In a small saucepan, mix the white sugar and corn starch.  Then add water and bring to boil.  Boil for 1-2 minutes until thick.  Pour over the fruit and gently mix, then add the dry tapioca.  Pour into dutch oven.  Sprinkle on the crumb topping.


To bake...In a regular oven:  Bake for 40 minutes at 350

To bake...In the great outdoors: Make sure the charcoal is ready, it should look gray and not much black showing.  I don't have a fire pit...yet...so for now I use some landscape block as a base for the charcoal.  Use the tongs to put 12 pieces of charcoal down on the block, then set the dutch oven on top.  All the charcoal should be evenly distributed underneath the pot.  Put the other 12 pieces on top of the lid of the pot-also evenly distributed.  Set the timer for 10 minute increments.  Each time the alarm goes off, turn the pot 1/4 turn--this eliminates hot spots. Resist the urge to  keep lifting the lid--it lets out the heat. Bake for a total of 40 minutes or until hot and bubbly.

Total tastiness.  If you can stand it, let it cool for about 30-40 minutes before serving with some vanilla ice cream or whip cream.

Variations:  If you have lots of berries, replace the apples or rhubarb and just go with all berries.  I'd up the sugar another 1/2 cup.  I suspect I'll try it with other fruits too in the future.


"


Saturday, June 16, 2012

Grilled Veggies...ah, summer

Pin It

I break out the grill several times a week during the summer, and veggies on the grill are one of my favorites. I love having zucchini, yellow squash, onion and mushrooms--but use whatever you've got.

After you've cut the veggies into similar size pieces, I like to toss them in a ziplock bag or bowl with some balsamic vinegar and oil (or just use Italian salad dressing) for 15 minutes while the grill is heating up.

I use a grill basket to keep things all contained (pick one up at TJ Maxx or Ross). I heat the grill up to med-high and keep the lid closed most of the time with occasional stirring.


It takes about 15 minutes to cook to my preferred doneness. Serve it up with whatever else you feel like.

Monday, May 28, 2012

Garbage Can Planter

Pin It


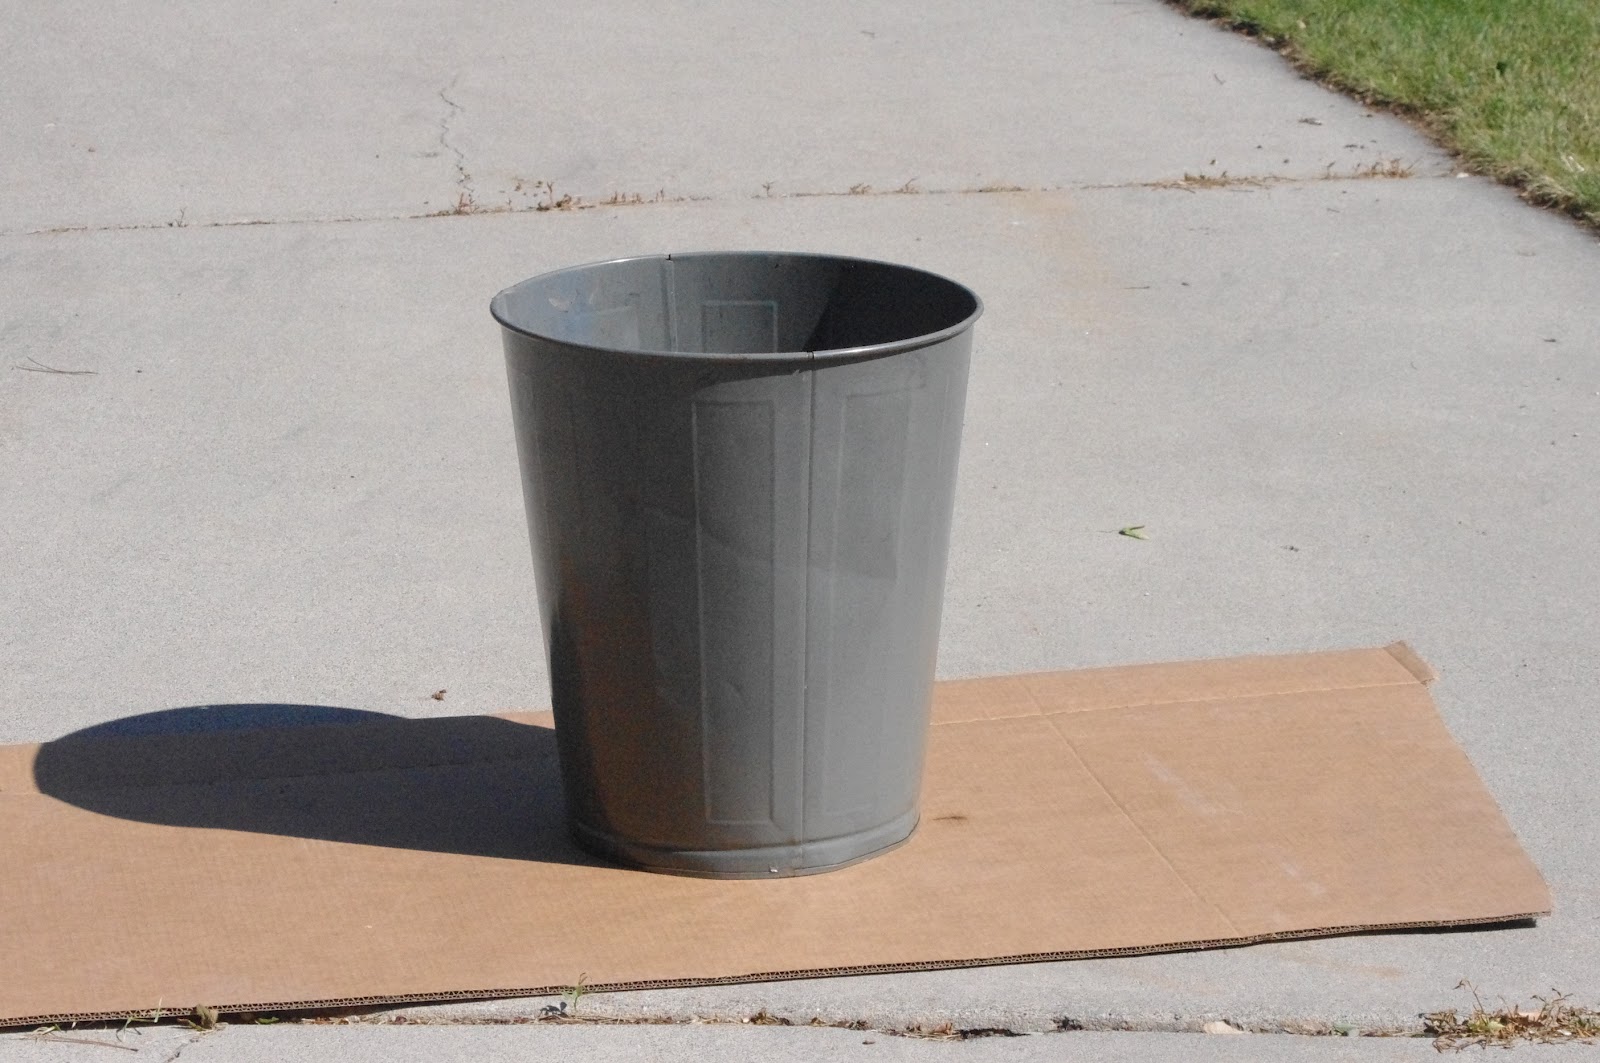
Last year I picked up several  metal garbage cans from a sale from an elementary school that had been closed.  I think they were about .10 each, so even if all I used them for was trash, it would be ok.  Today I finally had the time to do a quick make-over on one.  I sprayed it with Rust-oleum High Gloss Black and then used my Silhouette to cut out the house number and name.  I spent about 10 minutes on the painting and about 10 minutes on designing the house label.  After that, it was up to the Silhouette to get the job done.  The lettering is about 8 inches x 11 inches total.  Pretty quick project.

I like it so well, that I may do one for my own house.

Before:

After:

Note: I didn't fill the can directly with dirt, I just stuck the flowers that I bought in a plain plastic pot in it (the pre-done pot of flowers is from Walmart).

Friday, July 29, 2011

Margherita Pizza on the Grill

Pin It
I love dinner out on the grill! It keeps your kitchen from getting hot, especially when it was already 95 degrees outside. This is a pretty fast dinner, especially if you take shortcuts like me and use store bought dough and sauce.

Lucky me, my basil is growing really well, so I picked it right out of the container.


Ingredients

1 pkg pizza dough (I got mine at Winco)
1 bottle sauce
fresh mozzarella, sliced
fresh basil
Hot pepper flakes, opt
Olive oil


First, divide the dough into 4 equal pieces. Use some flour on the counter and shape each piece of dough into a pizza round. Place each crust between floured pieces of plastic wrap and let rest/rise while you get the ingredients ready (I put mine out by the grill while the grill was preheating--about 10-15 minutes).

Preheat the grill with the lid closed on high.

Slice the mozzarella and clean and dry the basil ( I julienned mine since the leaves were large).


Use a folded paper towel dipped in oil and a pair of tongs to grease the grates on the grill. Brush one side of the crust in oil and place oil side down on the grill (I turned the grill down to medium at this point). Keep an eye on the bread, it will take 3-4 minutes on one side. When you are ready to turn it over, brush oil over the top and then flip.


Immediately start spooning on the the sauce on the crust, then top with the cheese. Close the lid on the grill for a minute or two to let the cheese get all melty and delicious. Sprinkle with basil and pepper flakes. Use the tongs to pull the cooked pizza onto a waiting plate.

Wednesday, July 13, 2011

Green Chile Turkey Burgers

Pin It Tired of the usual grilled hamburgers? Try these very tasty (and pretty nutritious) turkey burgers!

Ingredients (for 4 burgers)
1 lb ground turkey
1 can chopped green chiles, drained
1 tsp. salt and pepper
wheat hamburger buns
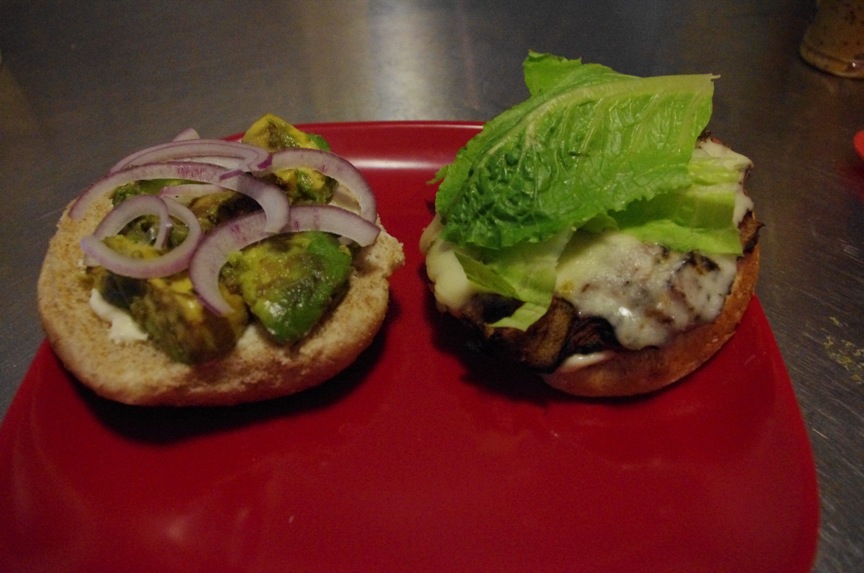
toppings: pepper jack cheese, avocado, lettuce, red onion, whole grain mustard

Mix the turkey and green chiles, salt and pepper. Form into 4 patties. The mixture is very soft, so form it on pieces of wax paper (if you have time, either freeze or refrigerate before cooking just to make it easier to handle). If you don't freeze first, then take the burgers out to the grill on the wax paper and just flip upside down onto the grill and pull off the wax paper.


Cook burgers on the grill just like you would regular burgers (make sure you oil the grill grates first. Since the turkey is lower fat, it may stick if you don't).


I top mine with pepper jack cheese, avocado, red onion and lettuce along with whole grain deli mustard and sometimes mayo. I've even been known to grill some pineapple rings and add those and some pickled jalepenos. Very tasty served with sweet potato fries on the side.

Monday, July 11, 2011

Fresh Strawberry Pie

Pin It
Need a fast dessert that won't heat up your kitchen on a hot summer day? Try making a fresh strawberry pie! You can make your own regular pie crust (which I have given up trying), you could use a box pie crust mix (like Krustez or Betty Crocker) or you can use a pre-made graham cracker crust. I took these ingredients with me up to the cabin for the 4th of July for a yummy summertime dessert.

Ingredients

1 9-inch pie crust
1 pkg Danish Dessert, Strawberry (Junket brand...found on the Jello aisle, usually on top shelf)
1 3/4 C. cold water
4 C. sliced fresh strawberries


If you are lucky like me and have a strawberry patch that is doing amazing things, go get some berries, wash, hull and slice them (or at least cut them in half so that they are nice bite size slices).

In a small saucepan combine the cold water and Danish Dessert mix and cook over medium heat, stirring constantly. Bring to a boil and boil for 1 minute.


Pour the sauce over the berries and gently mix. Pour into the prepared pie crust. Refrigerate for at least 2 hours (I prefer to not leave overnight because the berries start to get soft).


Top with whip cream if you like! Super tasty and inexpensive (strawberries...free, Danish Dessert $1.34 and crust, $1.19 at Walmart).