Showing posts with label painting. Show all posts

Thursday, May 3, 2018

Star Wars Day Painted Shoes

Pin It
Are you ready for May the 4th, aka Star Wars Day?  I was looking for ideas to celebrate and found this awesome blog called DoodleCraftBlog on painting shoes for Star Wars.  I looked around my house and I had all the things I needed (well, after looking for 45 minutes for the gold paint, which isn't where it was supposed to be and 15 minute trip to the store solved that...I'm sure to find the old bottle now).

I had a pair of shoes in the bin by the door that I slip on when I need to go outside to turn of the sprinkler or take out the trash.  Just some cheap canvas shoes.  If I had had lighter colored shoes, it would have been better--painting over the black was tricky.

Clean off the shoes (and by clean, I made sure there wasn't grass clippings still sticking to it).  Use a foam brush to paint the shoe.  I mixed my craft paint with a textile medium so that the paint will be more flexible (usually on the same racks as the craft paint).   I ended up with about 3 coats to cover the canvas.  I used a hair dryer to speed up the dry time between coats.


Just like on DoodleCraftBlog I sketched out the design with a Sharpie and painted the blue, red and then outlined everything with the black.  The next morning I covered the paint on the decorated end with clear coat to protect the design.

Funny thing, I had stopped by a thrift store looking for another accessory for Star Wars Day and saw the exact same pumps that DoodleCraftBlog used (I was tempted to purchase, but I am highly unlikely to wear them all day at work--I'm more of a flats kind of person).  I really enjoyed painting these shoes.  I might do it again, maybe Disney!


Friday, September 30, 2016

Quick Door Decor Upcycle

Pin It
Super easy project!  I love pineapples--I've been on quite a kick lately (on my last trip to Hawaii I tried to find a cute skirt with a pineapple print with no luck--I went to all the fabric stores and found hardly ANY pineapple fabric, and none of it cute--but I did find a fun t shirt at Ann Taylor Loft).  Anyway...I'm always on the lookout for cute pineapple stuff.  I saw this plaster door medallion at the High School Yard Sale for $1.  Nice.  

30 minutes later and it fits my door decor much better.  I used acrylic craft paint and then a bit of silver Rub N' Buff to give it a nice sheen.  


Tuesday, September 6, 2016

Patio Chair Re-do

Pin It
 

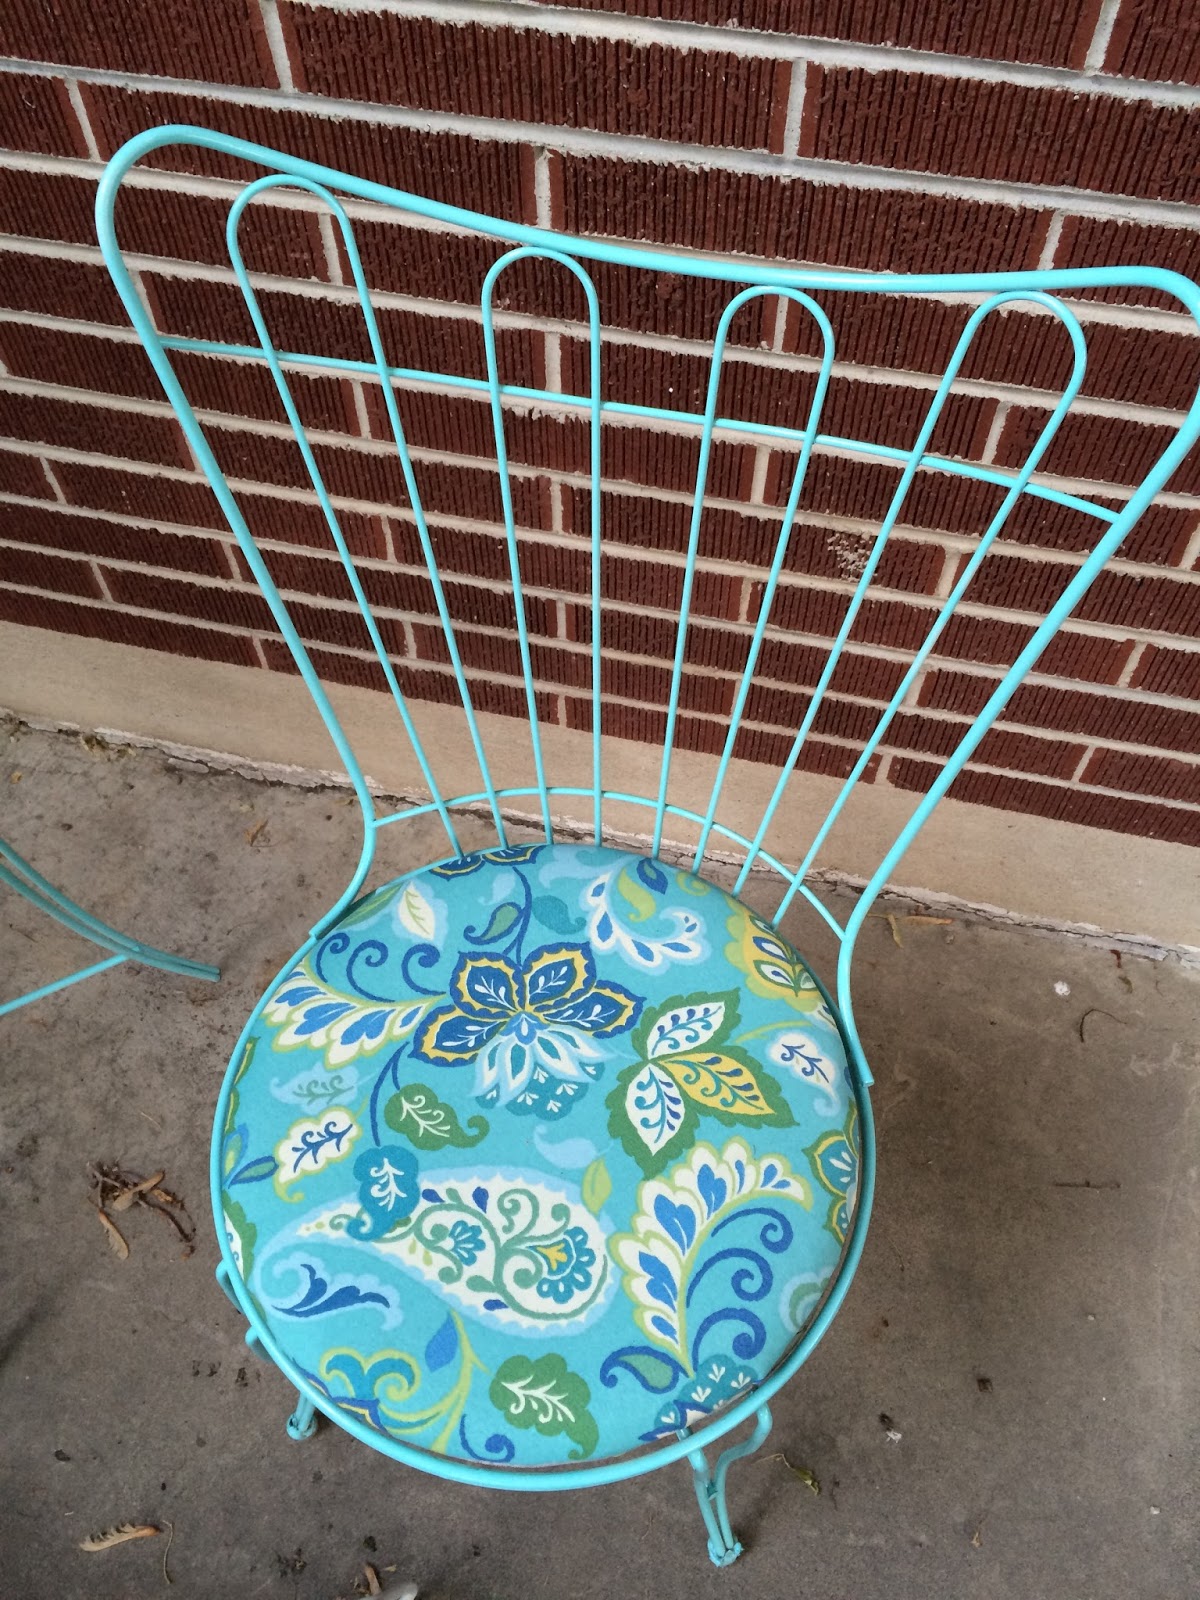
I was visiting my parent's home in Idaho and went out for a Saturday morning run and the neighbors were having a yard sale.  I've been wanting to change my plastic patio chairs to something more interesting, and these metal bistro chairs caught my eye.  They only wanted $2 a piece, so I bought 4 of them and hauled them home (well, I brought two home with me and my mom was nice enough to bring the other two the next time she came to Utah in her RAV 4). 
I have recovered chairs before, so I know that taking off the current cover and using it as a pattern is the way to go.  I had to laugh when I took off the brown vinyl--it was covering...brown vinyl.  Although one of the chair still had the original vinyl underneath both brown layers; a mustard/floral (which was kinda cute in a retro way, but only one of the chairs still had it). 
I got lucky at JoAnn on the fabric.  The Red Tag fabrics were an extra 50% off and I used a 20% off your entire purchase coupon.  I bought 2 yards of outdoor canvas fabric for only $5.80 

I pulled off all the old vinyl, cut out the new circles and stapled it on to the cushions.  I find that kneeling on the cushion helps you pull the fabric super tight while you staple.  I staple one side, then do the opposite side (basically I divide the circle into 8 sides).  
Next was painting the chairs.  I ordered the paint from Amazon (hello Prime, all the colors, delivered right to my door).  Only $3.68 a can for this fun Aqua color--I bought 2 cans.  I did get 2 chairs done with one can of paint, but I skimped on areas underneath that no one would see.  I probably should have had 1 more can of paint.  


Now I've got some bright patio chairs and I love them.  I also love that my total investment was only about $6 per chair.


Saturday, April 16, 2011

Rub N Buff Resin to Pewter

Pin It Wow, I have discovered a miracle in a tube! Apparently Rub N Buff has been around forever, but I just discovered it. I've got lots of other ideas running through my head on how I can turn brass stuff into silver (thinking about the hardware on my old dresser)--or a mirror, or...well, you get the idea.

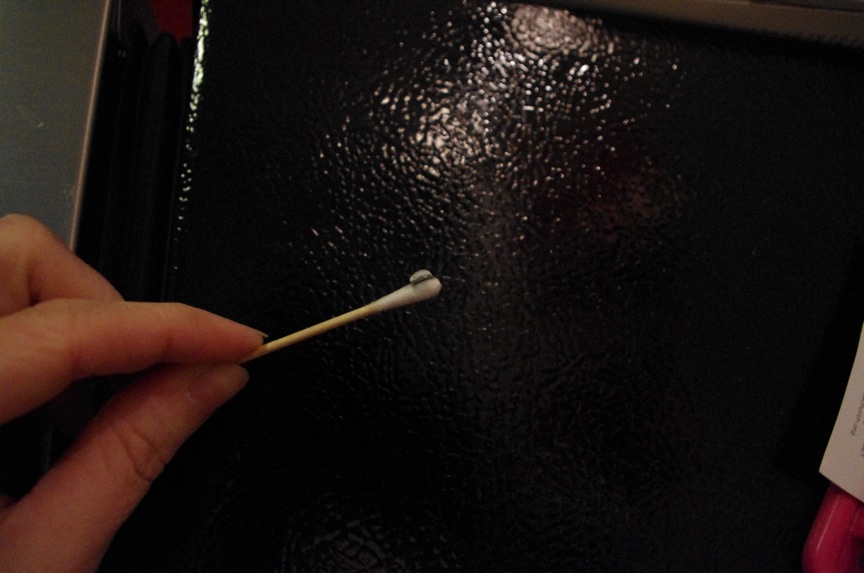
I love pineapples since they are the symbol for hospitality. I found this poor little guy at the D.I. for $1. Its made of plastic resin. I sprayed it with black spray paint (thought about leaving it shiny black, because it looked pretty good, but then I wouldn't get to use my new tube of Rub N Buff). I put tiny amounts of the paint on the end of the q-tip and gently spread it over an area, then rubbed it out with a t-shirt. Took about 5 minutes. Now I have a "pewter" pineapple!


This stuff was really easy to use. Couple things to keep in mind. First, it is oil based, so it smells and if you get it on your fingers, you'll need mineral spirits to clean up (I wore gloves and used q-tips so I didn't have to do any cleaning). Next, you use a TINY amount of paint. You don't have much work time, so put it on in the spot you are working on, then quickly grab your cloth and start rubbing and buffing. That's about all there is to know about the product!

Wednesday, November 3, 2010

TV Cabinet Refurb

Pin It I have been thinking about having my dad build me a cabinet for my tv to sit on. I have had something in mind and wasn't finding it at the store (nor was I too excited about spending a couple hundred dollars on something that wasn't really what I wanted). But, having already made some drawings and measurements I was prepared when lightning struck at a spur-of-the-moment stop at the Welfare Square D.I. Sitting in the back in the "as is" furniture section was the top part of a hutch. It had great doors with really cool glass and it was just the right width, but a bit tall. No worries. I grabbed that hutch and took it home for a real bargain knowing I could make it work. I sketched and looked at it more closely and decided I could just cut off the bottom 12 inches and it would be perfect.


I used my skill saw and a straight edge (which I made by attaching a long straight board to the back of the cabinet with a couple of small nails) to cut off the bottom the hutch (being careful to make sure that the cabinet would still have enough height for the cabinet doors to still fit). I sanded the new edges and added some of those furniture glides that you nail into the bottom of the furniture.

Next, I selected a great green color (Bulfrog Green by Dutchboy) and got to work taping off the glass in the doors and painting over the grey/green paint.


I decided I wanted to give glazing a try and this seemed like the perfect project to start on. I used FolkArts Glazing Gel, which I got at JoAnn's for under $2 and mixed it with a Dark Umber craft paint. I first tried mixing it half and half, but that turned out darker than I wanted. I ended up using about 2 parts glaze to 1 part paint. I used an old t-shirt to dip into the mixture and smooth it over the painted surface. It worked great. As long as i slid it on smoothly and didn't rub it too hard, it left a darker stain and took the bright shiny new look off the green paint.


I had to take a break during the week from my cabinet, but on Saturday I got to work again finishing up the glazing. I decided that it definately needed a coat of clear polyurethane since I wanted it to be a nice hard, scrubable surface to set the TV on.

One coat of poly on the doors, 2 on the top of the cabinet and and hour to dry. Next thing you know, I'm hauling that bad boy down to the basement! It looks great. In the close up you get a sense of the wavy glass that came in the doors! So much fun :)


Now all I need is the new TV--just waiting for a great Black Friday deal!