Showing posts with label decorating. Show all posts

Tuesday, April 24, 2018

Patent Office Prints-Free

Pin It


Have you seen art prints that have the patent schematics and diagrams for inventions?  They are cool!  And did you know you can access them for free?  The images are usually low-quality PDFs, but with a few tweaks in your photo editor, you can adjust the resolution and add pixels! (If you have a Mac, you can use Preview to Adjust Size.  You can use apps like Photoshop, Gimp or Paint too-there are plenty of tutorials out there, just search for resizing).  Most of the time pictures for the internet are 72 pixels per inch.  If you want to print them, they need to be about 300 pixels per inch.


If you want to find patent prints, just do a Google image search.  When you find one you like, look for the patent number.  Go to the US Patent Office site and do a search for the patent number.  Look for the button that says Images and click it to get the PDF.


I've been a science educator for over 2 decades, so I really like science-y things.  I grabbed some fun patent images of lab ware and I'm going to put them up in my office. If you wanted large-scale size prints, you could use Staples to do Engineering Prints--they are very inexpensive and perfect for black and white prints.

You could look for prints for :

Musical instruments
Science equipment
Sports gear
Machines
Christmas
Atari 
Sewing
Clocks
Fireman or Police gear
Trains
Camera
Shoes
Bikes

Have fun!


Saturday, December 30, 2017

Placemat Pillows

Pin It


Do you like to hit the after Christmas clearance sales? I do! I don't mind storing things for a year if it means I got it for 90% off.  I grabbed these place mats at Target last year-and it was no problem that there were only one of a kind since I wasn't thinking of using them for the table.  Instead, I saw that these place mats were made with a front and back fabric-so they were basically pillowcases that had been sewn shut. Also in the Christmas clearance section, I saw lots of bags of "snow batting"--the kind you unroll and put under villages or trees-but it's the same polyfill material used for stuffing pillows. It was super cheap, so I bought a couple packages for each pillow.


Materials
1 fabric place mat (make sure that it has a front and back fabric)
Stuffing material
Thread to match

Use a sharp pair of scissors or a seam ripper to open up the seam along the bottom of the place mat. Start and end about 1 inch from the edges.


If using flat snow batting, unroll it and then accordion fold it into a rectangle that will fit inside the pillow.


To make it easier to insert into the pillow, roll up the batting and stick one end into the pillow and then the other. Use your hands to smooth it flat.

Sew up the seam either on your sewing machine or by hand (or for a no-sew version, add stick-on Velcro or fabric glue).

This project took about 5 minutes per pillow. I chose to just make a quick pillow, but you could do pillow covers if you wanted to take the time to add buttons or snaps or sew-in Velcro.

Friday, September 23, 2016

DIY Barn Door

Pin It
 

I have been in my house for about 13 years and I've always wished I had a door to the laundry room in the basement.  I have a TV downstairs and my sewing area, so it was noisy when the washer was running and I wanted to use the family room. The door to the laundry was framed out without a door--and a traditional swinging door would take up precious space in the narrow room (or make it really hard to move the washer out should I ever need to replace it).  

I decided to give the barn door trend a go.  I went to Habitat for Humanity's ReStore and picked up a hollow core sliding closet door and painted it with chalkboard paint (with white trim).  It was a steal since the door was only $5 and I had the paint left over from other projects. I had to build my own track because my ceiling is only 7 feet and all the hardware I could find needed a bit more headroom than I had. 

Next, I added a wooden header across the whole opening and screwed it into the studs (which are not 16" on center...darn old houses).  Then I undid my work because I realized that the trim around the door stood out further than my bracket.  I put in spacers and hung the wood back up. 


My friend made me some J track with holes for screws, which I screwed into the wood header.  
To hang the door, I used closet door hardware as well as a couple of casters on the bottom of the door.  The hanging closet hardware keeps the door on the track; the casters hold all the door's weight. It rolls across the carpet fairly easily--if I were doing it again, I'd probably use larger casters. 


Friday, September 16, 2016

Faux Canvas Wall Art

Pin It


As part of my living room redecorating I put up a new shelf, and then I had to figure out what would go on the shelf and on the rest of the wall.  I spent lots of time surfing Pinterest for wall art ideas, for quotes etc...  I finally decided that I needed a piece that was about 2 feet across and about 30 inches long (I could have probably done closer to 3 feet...maybe next time).  When I looked at stores for art, I didn't find what I wanted.  I considered buying a canvas at the craft store and using paint and my vinyl cutter.  But I thought maybe I could do a faux canvas instead--and for less! 


I have been wanting to try out the Engineering prints from Staples since I read about a blogger who did a large print of the Death Star for her boys' room.  The engineering prints are inexpensive, but they are in black and white and lower resolution.  For the one I did, it cost about $3.50 (I uploaded the .jpg and an hour later got a call from Staples that it was ready for pick up).

Next, I had to figure out how to make the photocopy look like it was canvas.  I like the wrapped canvas look, so I decided I needed something that was about 1 inch thick. I thought about foam core board or cardboard, but I'd have to put layers together.  I considered plywood or particle board (and if I had had a scrap big enough in my shed I might had gone that route).  Then I landed on rigid foam insulation--cheap, easy to haul home and cut! I didn't want a big sheet of it, but luckily, Home Depot sells it in small 2x2 and 2x4 panels.  I chose the 1" thick and it was about $3.50.

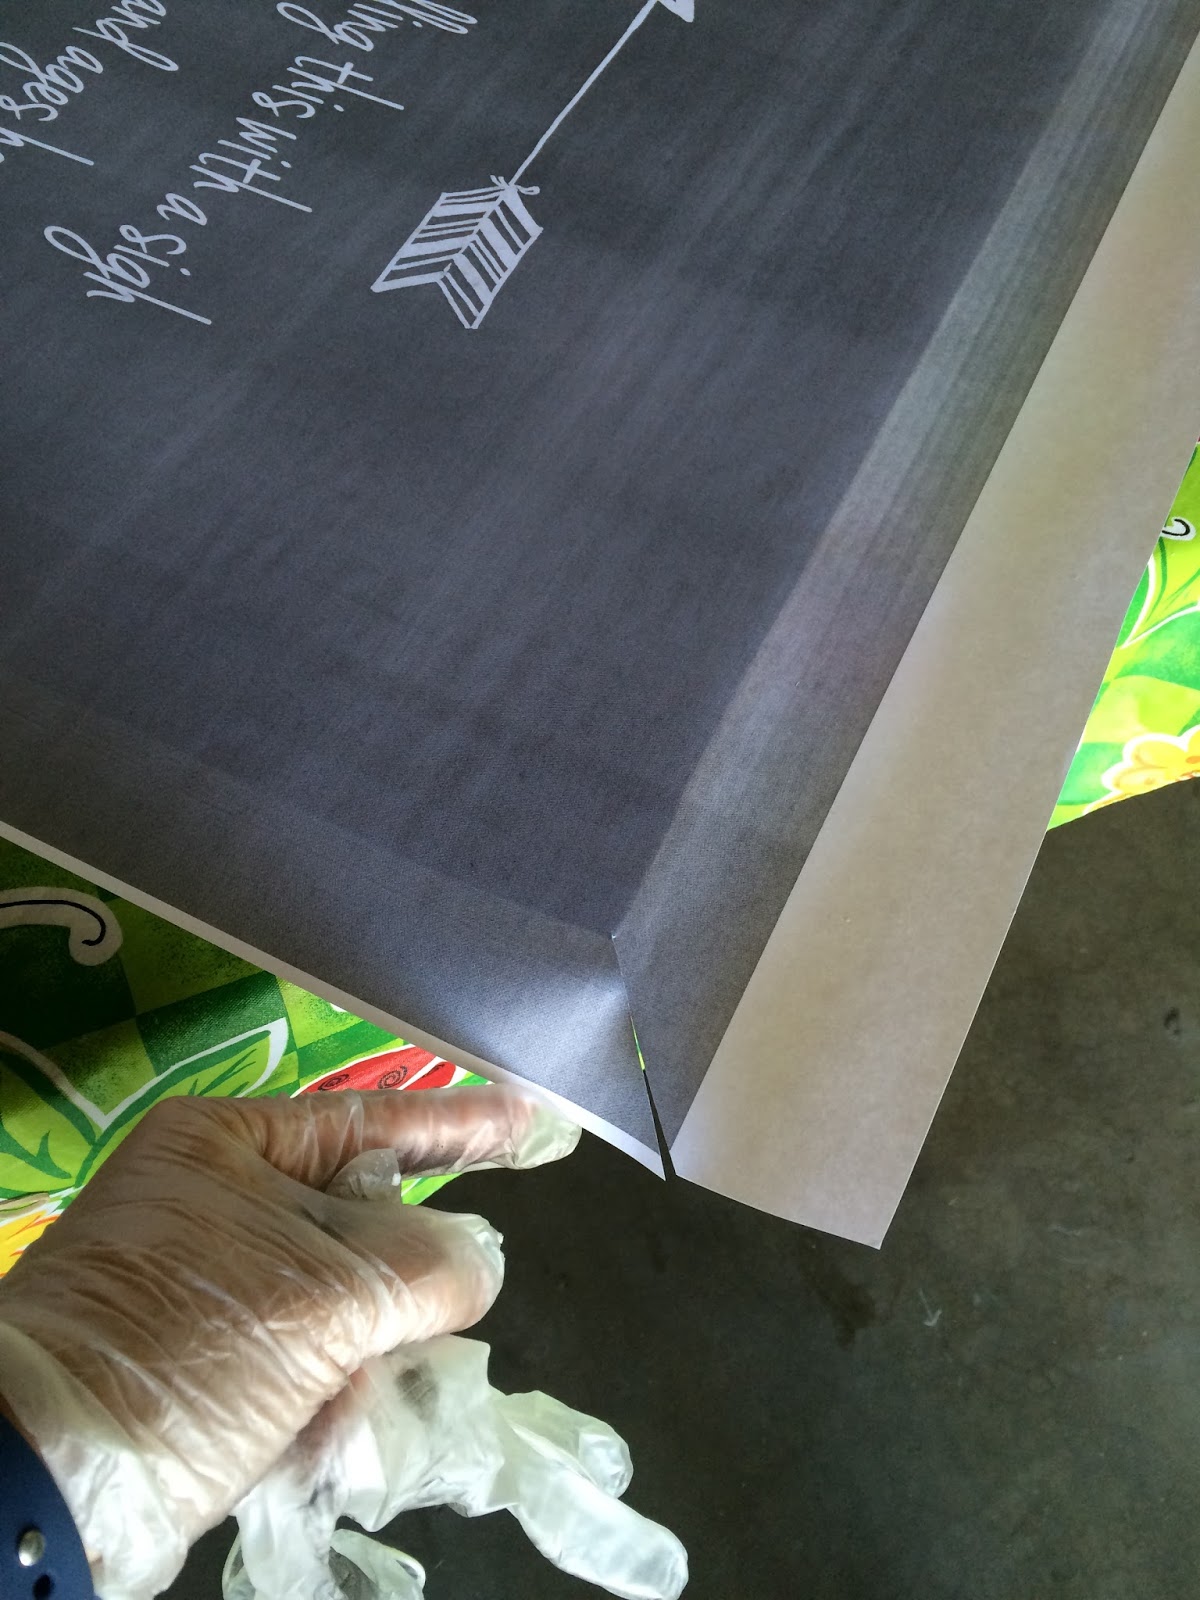
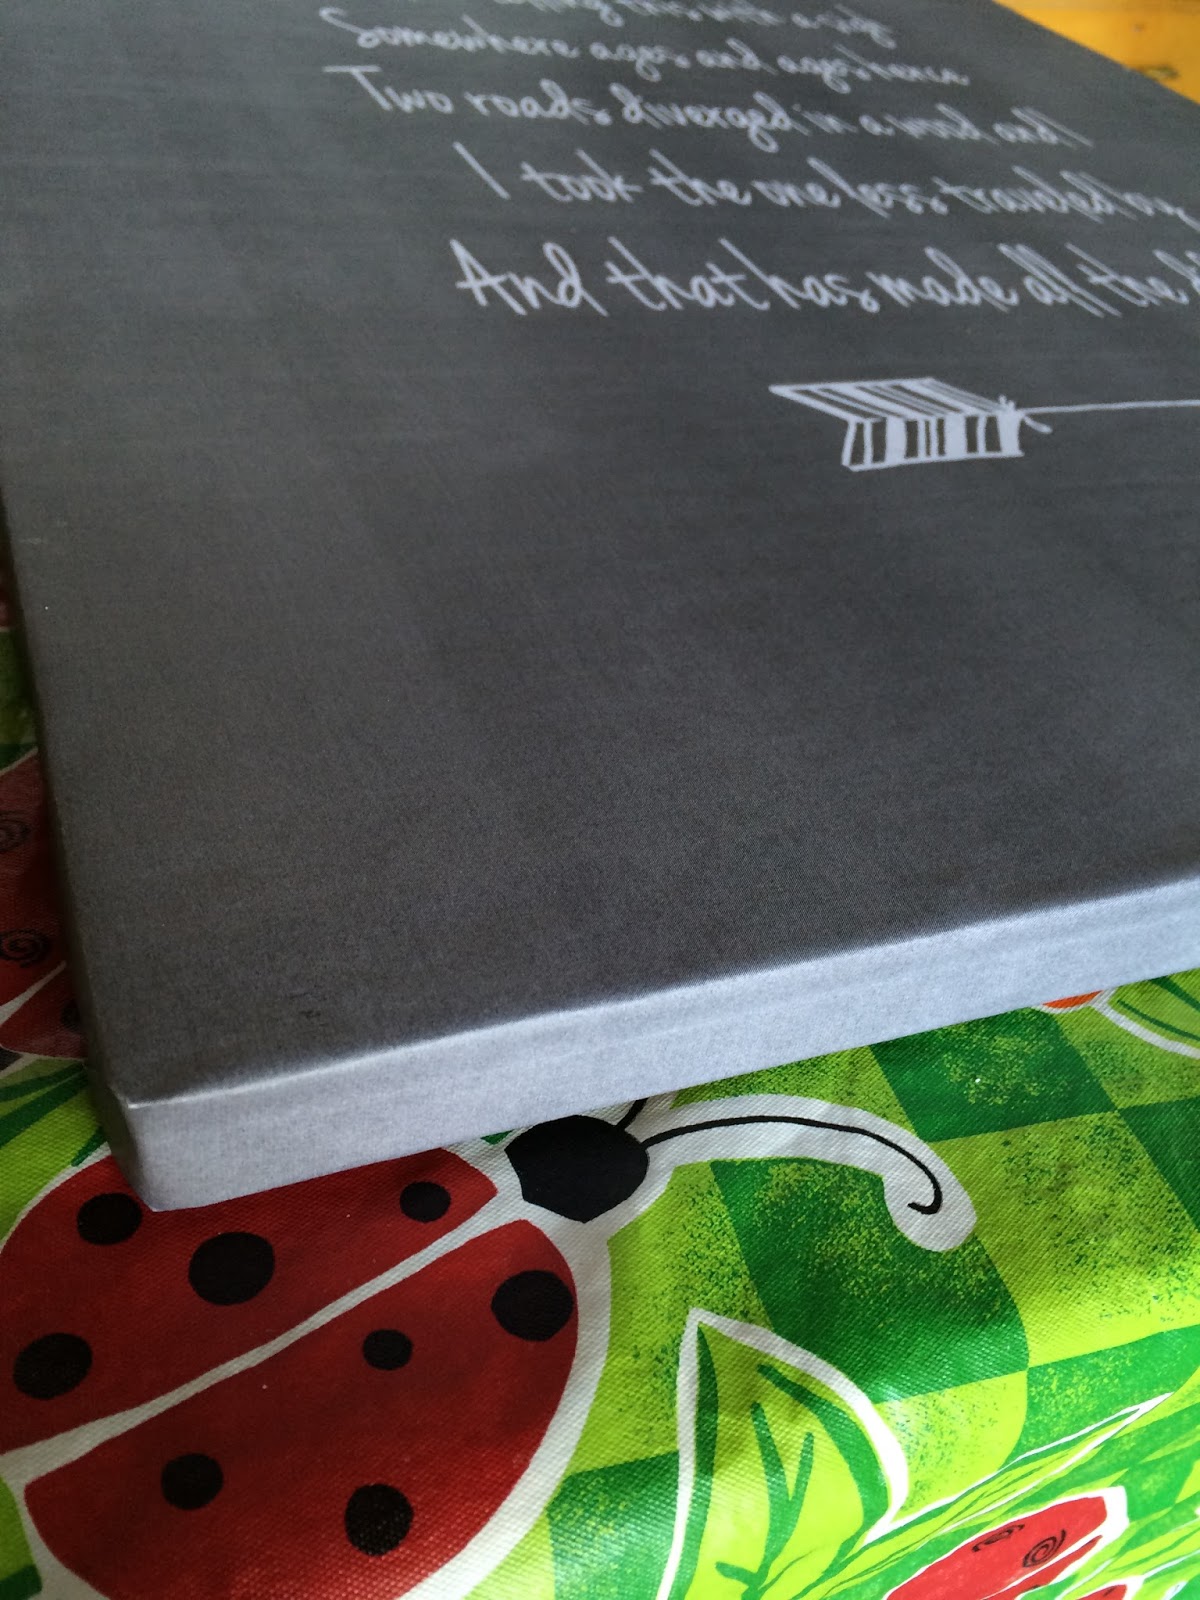
So, I brought home my print and my foam.  I used a straightedge to trim the foam and sprayed the surface with adhesive.  I centered the print over the foam and carefully smoothed it down.  I cut the corners of the paper at an angle and flipped the whole thing over and sprayed a bit more adhesive on the foam edges and the paper.  I slowly and carefully wrapped the paper around the edge and the back.  It looked a lot like a wrapped package.


 To get the illusion of canvas, I used a big paintbrush (the super cheap bristle brush from the Dollar Store) and dry brushed a bit of Modge Podge in long sweeping strokes both vertically and horizontally.  Don't use much of the glue--dab it on the brush, tap most of it off on a rag or paper towel and then lightly brush (if you get heavy handed with the liquid glue, the thin paper will wrinkle up). 

Since the foam is so light, I used a loop of twine and some duct tape to make the hanger (tie a knot in the end so the twine doesn't slide out of the tape). 


For my quote, I went with Robert Frost's The Road Not Taken.  We had sung it at choir a couple months ago and it has just stuck with me.  

Two roads diverged in a yellow wood,
And sorry I could not travel both
And be one traveler, long I stood
And looked down one as far as I could
To where it bent in the undergrowth;

Then took the other, as just as fair,
And having perhaps the better claim,
Because it was grassy and wanted wear;
Though as for that the passing there
Had worn them really about the same,

And both that morning equally lay
In leaves no step had trodden black.
Oh, I kept the first for another day!
Yet knowing how way leads on to way,
I doubted if I should ever come back.

I shall be telling this with a sigh
Somewhere ages and ages hence:
Two roads diverged in a wood, and I—
I took the one less traveled by,
And that has made all the difference.

Friday, September 9, 2016

Industrial Wood Shelf

Pin It
I've been slowly redecorating my living room.  It started with a really big couch.  I fell in love with a really expensive sofa at Restoration Hardware, but I'm not ever going to pay seven thousand for furniture.  I looked around and found a local furniture store that had one that was still a dark leather, and still 44 inches deep and 8 feet long (yeah, its about the size of a twin size bed--and yup, I love Sunday naps on it), made in America AND less than 1/4 the price of the RH one.  With a big new couch I thought I needed new artwork over the back of it.  

This shelf was really easy--and not terribly expensive.  I hit the cull bin at the back of Home Depot and found a 10 foot board that is 6 inches deep and 1 3/4 thick.  The end of the board was damaged, so I got the whole thing for $8.  I cut it into a 5 foot length. 
Next was plenty of sanding and then some dark stain and a coat of poly.  Total time in making the shelf:  about an hour.  I let it dry for a couple days outside so that it wouldn't smell too much when I installed it.  
 
The shelf is set on 2 brackets made out of plumbing fittings.  I debated 1/2" vs 3/4" pipe fittings--and decided that the 1/2" looked just right (3/4 seemed a bit too fat).  You need the floor flange, a 6" straight piece and a pipe cap.  The flange was the most expensive at around $6 each.  

I was lucky that I had a stud to hang one end of the shelf in, but the other bracket wasn't on a stud, so I used the drywall anchors.  

Easy.  Total cost for the shelf was less than $20.  FYI, I don't have any little people that could potentially pull or knock the shelf off the wall.  If you do, you may want to add some L-brackets at the back of the shelf and screw it to the wall, just in case.