Showing posts with label cookies. Show all posts

Sunday, December 22, 2013

Nostalgic Cookies Part 2: Rosettes

Pin It  
My last post was about cookies that my dad's mom made.  This post is about my other grandma-a great cook--who was always certain that she hadn't made enough cookies (maybe its because we  filched cookies while she wasn't looking).  I thought I'd give Rosette cookies a try--its been many, many years since I've had them, and for a first try, these seem pretty good (not Grandma perfect, but a worthy effort).

Batter
1 egg
1/8 tsp salt
1/2 Tbs sugar
1/2 cup flour
1/2 cup milk
1/2 tsp vanilla


Beat the egg, salt and sugar then add the remaining ingredients and mix until smooth (I used my hand mixer for about 1 minute).  Refrigerate batter for about 30 minutes.

Heat the oil to about 350 degrees.  Place your rosette iron in the hot oil for about 30 seconds.  Since I had 2 irons I kept one in the oil while I used the other one. 

To make the rosettes:
Take the iron out of the hot oil and tap off excess oil on nearby paper towel.
Dip the iron into the batter, leaving at least the top 1/4 of the iron out of the batter. Hold the iron in the batter for about 3 seconds.
Dip the battered iron into the hot oil for about 12-18 seconds.
Tap off the excess oil and use tongs to gently pull the rosette off the mold.
Flip the cookie so that the oil drips out of the indentations.
When ready to serve, sprinkle with powdered sugar (or a mix of granulated sugar/cinnamon)

I struggled to keep the oil the right temperature, but for the most part, the rosettes worked out fine.  They taste good, and that is the important part!  Merry Christmas.


Friday, December 20, 2013

Nostalgic Cookies Part 1-Raisin Filled Cookies

Pin It  
This Christmas season I have been trying to stay very focused on the true meaning of Christmas--which has meant less shopping, less decorating and more reflections on the birth of the Savior. I also have been reflecting on what a great family I have. As a kid, I have fond memories of celebrations with my grandparents. Today's post is in honor of my Grandma--an Idaho farm wife who was great at making jams, jellies...and raisin filled cookies. I am sad to say that I couldn't find my grandmother's recipe (although I'm still working on it), so I did some searching online and found this one from Brown Eyed Baker, which I tweaked a bit.


The recipe turned out great.  I can imagine sitting in Grandma's kitchen eating cookies, so I think that is a success.  Stay tuned for Nostalgic Cookies Part 2-Rosettes

Dough
1 cup sugar
1/2 cup margarine (don't substitute, look for Gold n Soft)
1 tsp salt
1 egg
3 cups flour
1/2 cup milk
1 Tbs sour cream
2 tsp baking powder
1 tsp baking soda
1 tsp vanilla

In a stand mixer, cream the sugar and butter.  Add the salt, egg, milk, sour cream, baking powder, baking soda and vanilla-mix until combined. Turn off the mixer and add all 3 cups of flour.  Turn mixer on low to avoid a cloud of flour, and mix until a soft, sticky dough ball is formed.  The dough reminds me of a very soft sugar cookie dough.  Wrap the dough in plastic wrap and refrigerate for at least 30 minutes while you make the raisin filling.
 
Filling
1/2 cup sugar
1 1/2 Tbs cornstarch
3/4 cup water
1/2 Tbs lemon juice
8 oz of raisins (that is about 1 1/2 cups, but I use a kitchen scale)

In a small saucepan, mix the sugar, cornstarch and water and whisk until smooth.  Add the lemon juice and raisins and bring to a boil on medium heat.  Simmer while stirring for about 5 minutes (the raisins need to get super soft and plump).
 
Dust your counter top with flour and roll out about 1/3 of the dough to 1/8 inch thick.  Use a round cookie cutter (mine was about 2" circle) to cut the cookies.  I used a well floured spatula to get them off the counter and placed them on a parchment lined baking sheet.  Use a couple of spoons to get the filling out of the pan and smoothed onto the cookie (as the filling cools, its a bit sticky and hard to get off the spoon and I didn't want to use my finger).  Top the cookie and filling with another cookie.  I lightly pressed the edges of the cookies together, but I wasn't careful about it--the dough is soft and it just bakes together.


I baked mine at 375 for about 12 minutes (I rotated the sheet about half way through the process)--its important to only let the bottoms get a bit golden because you want the cookie to be soft, not crunchy.
This recipe made about 2 1/2 dozen cookies.  I've already eaten 3.  I had to put them in the freezer so there will be some left for the family Christmas celebration. 


Tuesday, January 15, 2013

A-Mazing Chocolate Chip Cookies

Pin It


I have the best neighbors ever.  Over the course of 3 days, I got well over 2 feet of snow-and two of my neighbors made sure that my driveway and sidewalks were snowblowed!  As a thank you, I decided some warm, homemade cookies were in order.  I do love cookies, especially chocolate chip ones, and I had heard about a recipe that used melted butter instead of creaming it together with the sugar and eggs.  I wanted to give it a try-so glad I did. 

Some searching found me the recipe from America's Test Kitchen for their cookies on another blog.  Everything I've ever made from that show/website has turned out great--and this recipe is no exception.  If you are a fan of Paradise Bakery cookies, you'll love this recipe.  Seriously, I had to take the cookies over right away because they were way too yummy.

Tips:
The browned butter is the most important part of this recipe--you can really taste the nutty/caramelly flavor, so don't skip that step.  Use real butter! I followed the recipe exactly.  Don't overmix the sugar or the flour, just slowly incorporate.  Chewy, golden, crunchy on the edges...so good.  Try it.  

These cookies would be amazing with other types of add-ins like white chips and craisens, or nuts.  Just make sure you've got cold milk on hand!

Cook’s Illustrated/America’s Test Kitchen Presents:
Perfect Chocolate Chip Cookies
Adapted from Cook’s Illustrated and America’s Test Kitchen
Ingredients
1 ¾ cups unbleached all-purpose flour
 ½ tsp. baking soda
10 + 4 Tbsp. unsalted butter (1 3/4 sticks)
½ cup granulated sugar
¾ cups packed dark brown sugar
1 tsp. table salt
2 tsps. vanilla extract
1 large egg + 1 large egg yolk
1 ¼ cups semisweet chocolate chips or chunks
¾ cup chopped pecans or walnuts, toasted (optional)


  • Preheat the oven to 375 degrees and place the oven rack in the middle position.  Line 2 large (18×12 inch) baking sheets with parchment paper and set aside.
  • Whisk flour and baking soda together in medium bowl and set aside.
  • Heat 10 tablespoons of the butter in 10-inch skillet (if possible, do not use nonstick) over medium-high heat until melted, about 2 minutes.  Continue cooking, swirling pan constantly until butter is dark golden brown and has nutty aroma, 1 to 3 minutes.
  • Remove skillet from heat and, using heatproof spatula, transfer browned butter to large heatproof bowl.  Stir remaining 4 tablespoons butter into hot butter until completely melted.
  • Add both sugars, salt, and vanilla to bowl with butter and whisk until fully incorporated.  Add egg and yolk and whisk until mixture is smooth with no sugar lumps remaining, about 30 seconds.  Let mixture stand 3 minutes, then whisk for 30 seconds.  Repeat process of resting and whisking 2 more times until mixture is thick, smooth, and shiny. 
  • Using rubber spatula or wooden spoon, stir in flour mixture until just combined, about 1 minute.  Stir in chocolate chips and nuts (if using), giving dough final stir to ensure no flour pockets remain.
  • Divide dough into 16 portions, each about 3 tablespoons ( I used a cookie scoop and ended up with 18 cookies, although I may have eaten a couple cookies worth of raw dough).  Arrange 2 inches apart on prepared baking sheets, 8 dough balls per sheet.  Smaller baking sheets can be used, but will require 3 batches.
  • Bake cookies 1 tray at a time until cookies are golden brown and still puffy, and edges have begun to set but centers are still soft, 10 to 14 minutes (mine took 14 minutes), rotating baking sheet halfway through baking.  
  • Transfer baking sheet to wire rack; cool cookies completely before serving (yeah, good luck with that).

Thursday, August 16, 2012

Black and White Cookies

Pin It  

I have a good friend who works in a bakery, and sometimes she brings me home a black and white cookie--so delicious!  I don't often make cookies that require frosting, but when I saw these on the cover of Cook's Country magazine, I knew I'd be trying them out.  So glad I did!

According to the magazine,the traditional B/W cookie is lemon flavored, but they did a vanilla version and I really loved it (because as much as I like chocolate frosting, I don't love lemon/chocolate).  So, here is the recipe

Cook's Country, March 2012, pg 22

Cookies
1 3/4 C. all purpose flour
1/2 t. baking powder
1/4 t. baking soda
1/8 t. salt
10 T. unsalted butter, softened
1 C. sugar
1 lg egg
2 t. vanilla (the good stuff)
1/3 C. sour cream

Glaze (I made half a batch of glaze and it was just enough for a full batch of cookies)

5 C. powdered sugar, sifted
7 T. whole milk (divided)
2 T. corn syrup
1 t. vanilla
1/2 t. salt
3 T. cocoa powder

For the cookies:  Preheat to 350.  In a bowl, sift the dry ingredients together.  In a stand mixer, use the paddle to cream together the butter and sugar until pale and fluffy, the add the egg and vanilla.  Alternate adding some of the dry mix then the sour cream to the mixer.

Use a 1/4 c. measure to make drop cookies (note:  I did not use that big a scoop, I used my regular cookie scoop, which is about 1 1/2 T.) onto a parchment lined cookie sheet.  Bake 15-18 minutes until the edges are lightly golden (turn the cookie sheet around after about 7 minutes).  Cool on a rack.


For the glaze:  In a bowl, whisk the sugar, 6 T. of the milk, corn syrup, vanilla and salt until smooth.  Transfer 1 C. of the mix to another bowl.  In the remaining glaze, add the rest of the milk and the cocoa powder.  Now you have both the vanilla and the chocolate glaze.

To glaze the cookie:  Frost with the vanilla first using an offset spatula to smooth it to the edge.  Place in the fridge or freezer for a few minute to set the glaze, then frost with the chocolate.


I froze some of the leftovers, and while they tasted delicious, the chocolate glaze changed color-so keep that in mind if you are making them in advance. 


Wednesday, July 18, 2012

French Macarons

Pin It

I spent my birthday back in April in Paris, where every day was one delicious food experience after another.  One of the most fun was eating these bite size bits of meringue!  They look so simple, so I was surprised when I did research when I got home about how difficult they are to make.  I think the research paid off, because using tips from other bakers, mine turned out pretty darn perfect.

I read My Sweet Life in Paris by David Lebovitz and his blog for tips, but then I came across this blog that had very detailed instructions that were really helpful.

A few things before you begin:
Leave the egg whites out the night before.
Use a kitchen scale.
Use an oven thermometer (my oven was off 20 degrees)
Make the ganache filling before you make the cookies if you want to fill them right away.
Pick a day when it is not humid outside (not usually a problem in my home state).

Ingredients
4.5 oz powdered sugar
2.5 oz almond meal (I used Bob's Red Mill brand-expensive, wish I could have found it in bulk so I could just buy what I needed, about 3/4 of a cup)
2 lg egg whites, room temperature
pinch of cream of tarter
1.5 oz superfine sugar (baker's sugar)
Filling of your choice (jam, ganache, buttercream)


 In a food processor, blend the powdered sugar and almond meal.
 Sift the sugar/meal mixture 2 times.
 Whip the egg whites on medium until a soft foam and add the pinch of cream of tarter.
 Keep whipping  on med-high until soft peaks form, then slowly add the superfine sugar.
 Keep whipping until stiff peaks form (add the food coloring or flavoring just before finished).
 Sift the dry mix onto the meringue and fold gently.  I ended up using 70 folds to get the batter looking just right.  I tested it by dolloping a bit on a plate to see if the peak would melt back down and not stay upright.  Then I put the batter in a pastry bag with a #12 Wilton round tip. 
 Line the baking sheet with parchment and pipe a 3/4" cookie.  I held the tip perfectly vertical and then squeezed the bag, letting the batter poof up around the tip.  I swirled the tip a bit and pulled it off to the side.  Most of the time I got pretty perfect circles that flattened out pretty quickly.  Rap the sheet on the counter to get any extra air bubbles out, then do the other sheet of cookies. 
Let the cookies sit on the counter for about 30-40 minutes to develop a bit of a skin (preheat the oven during this time).  Preheat to 375.  Put cookies in oven and immediately turn down to 325.  Set timer for 5 minutes.  When timer goes off, quickly turn the sheet around and continue baking for another 5 minutes.  I might do it for only 4 minutes each time next time because mine got just a bit golden on a few cookies and you don't want that. Once you've pulled the first tray out, turn the oven back up to 375 and let the oven get hot again.  Put in your second tray of cookies and again, close the door and immediately turn the temperature down to 325 degrees. 

The cookies cooled for about 2 minutes, then I put them on cooling racks.  I had no trouble with sticking.


I filled mine with dark chocolate ganache.  Yummy.

1/2 c. cream
3.5 oz dark chocolate, finely chopped
1/2 T. butter, softened

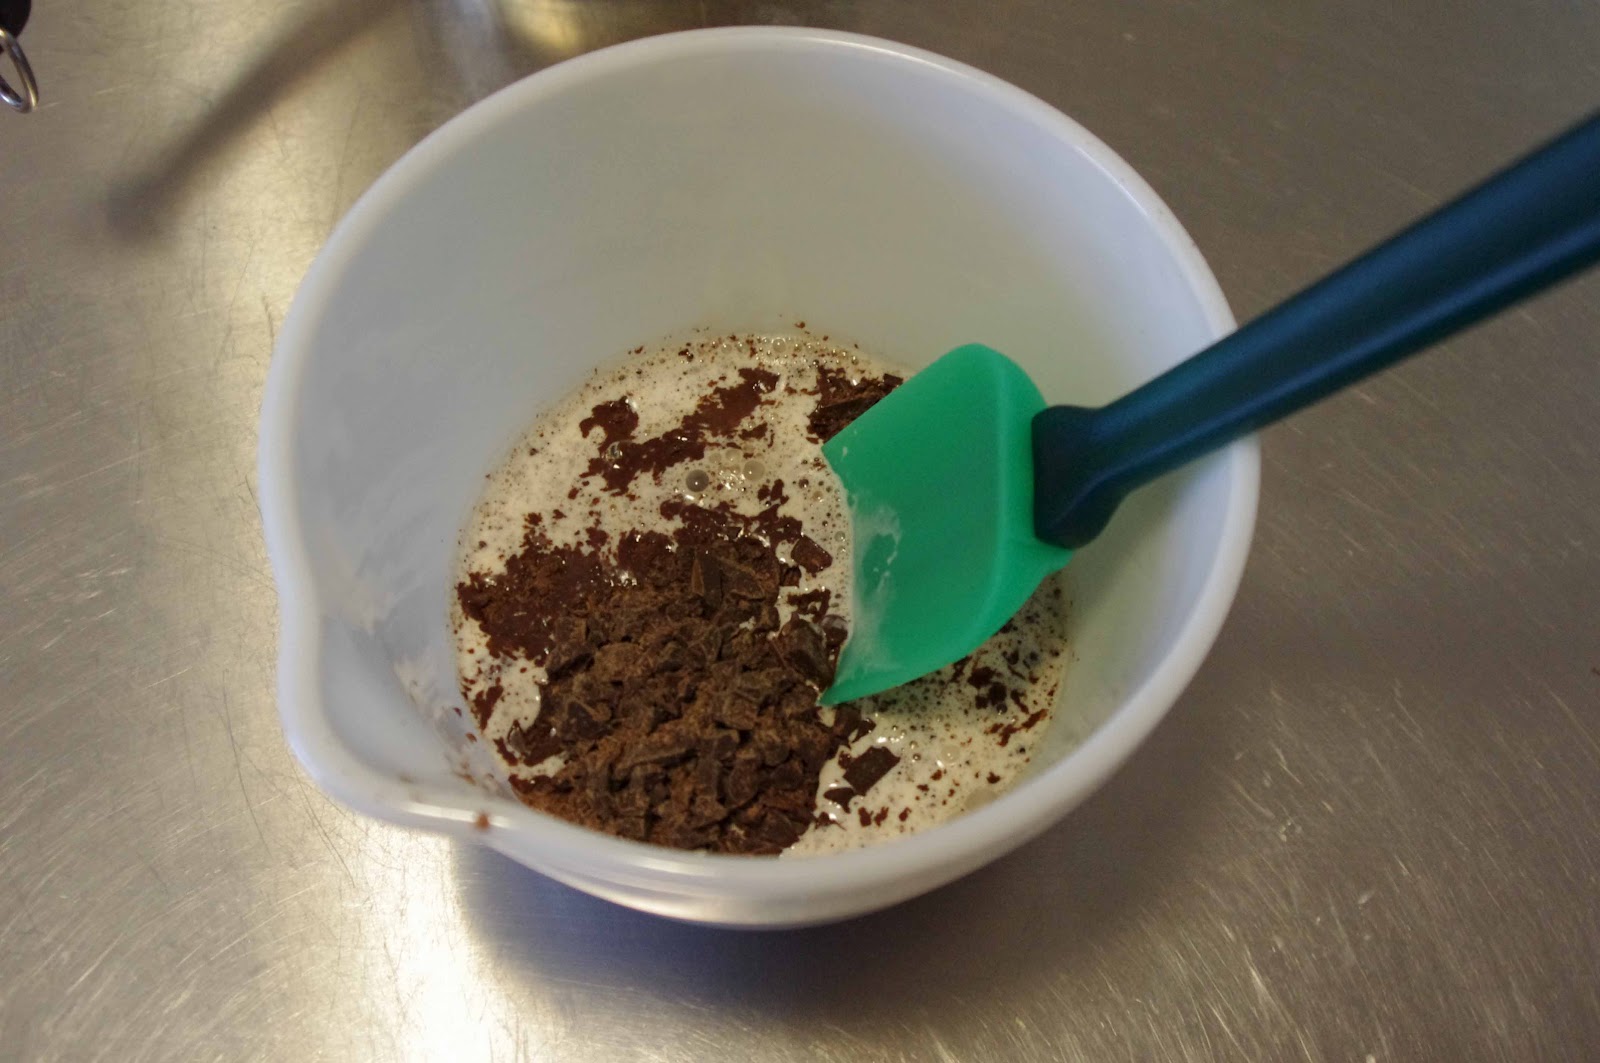
Bring the cream to a boil slowly, then pour over the chopped chocolate.  Let sit for a minute, then stir until combined.  Add the butter and keep stirring until mixed in.  Chill to stiffen before using as filling.

I ended up with 40 individual cookies, so enough for 20 sandwiches.  I filled some right away, the rest I froze without filling and will use later.

It took about 2 hours of hands-on time for these cookies, so they are more of a special occasion cookie-but they sure are tasty.  I had zero trouble with these cookies--there are lots of steps involved, but they weren't too terrible.

Monday, February 13, 2012

More Peanut Butter Goodness-Filled Cookies

Pin It

Last week I made cupcakes with peanut butter filling. I knew when I made the recipe for the filling, that there would be leftovers, and indeed there were. So, now I'm using up the leftover filling on some cookies.

Many years ago, I came across a recipe in The Friend magazine for filled cookies. I like to call them home made Oreos. Usually I make them at Christmas and fill them with cream cheese frosting. Always a hit. I've tried the recipe with different flavors of cake mix with great success (lemon cake mix, yum). Anyway, I had a cake mix and the filling. 20 minutes later, I have some serious temptation in the kitchen.


Cookie dough:
1 pkg devil's food cake mix
2 eggs
1/3 C. vegetable oil

Preheat to 350. You'll need a sturdy mixer to get this thick dough to come together. Takes about 1-2 minutes is all. The dough dries out, so be ready to go with the filling.

Peanut Butter filling:
6 oz softened cream cheese
1/2 C. smooth peanut butter
1/4 C. sugar
1 tsp. vanilla
2 tsp. milk

Mix until smooth and fluffy.


Now the fun part. Stuffing the cookies. Normally, I just make 1 inch balls, put them on the greased cookie sheet and flatten them slightly with a cup and bake for 8 minutes (then make sandwich cookies by adding frosting between 2 cookies). But not tonight.

Tonight, for these lovelies, I made about 1.5" balls. Then I flattened them in my palm. I added about 1 tsp of filling. Wrap the chocolate dough around (I kinda did a potsticker shape) then re-roll the whole thing into a ball shape. Place on cookie sheet and flatten slightly with a cup.


Bake for about 9 minutes. You don't want to over-bake, otherwise you don't get the chewy/gooey texture that is so delicious. You should get about 2 doz cookies.


That's it. Valentine's Day is tomorrow and my office is going to love me (or hate me), either way, good cookies.